
This is a simple camera hack that can be done just about anywhere. We modified a Canon point-and-shoot camera on at Dinacon to be a camera trap using CHDK and a quick USB cable modification. The only required materials are a canon point-and-shoot camera, a USB cable, an SD card, and way to connect the SD card to your computer such as an USB SD Card reader.
Introduction
Most point-and-shoot Canon cameras have a fairly limited number of features directly accessible through the buttons and on-screen menus. There are a wealth of features that are hidden or directly in-accessible to ensure ease-of-use for the general consumer. A group of hobbists developed a method that allows you to access these features using what is called CHDK (Canon Hack Development Kit).
Among the many features that this enables are remote triggering, motion detection, and time-lapse. The one that we am most interested in is remote triggering. This will allow us to trigger the shutter using two external wires that we can connect directly to a micro-controller or sensor directly.
Installing / Setting-up CHDK
To add CHDK, you go to the CHDK wiki page http://chdk.wikia.com/wiki/CHDK. Click on CHDK Downloads
 |
 |
| Main CHDK Wiki Page | Downloads Page |
From here, you scroll down to the bottom and click on the latest Stable Builds which will direct you do a list of different files for different camera options. Search down the list to find the one matching your camera.
 |
 |
| Click on the latest stable builds | Search for the file that matches your camera |
Installation
The installation is simple.
- Insert the SD card from your camera into your computer. You may need a USB adapter for this.
- Download the .ZIP file for the camera that matches your model. Unzip (open / un-compress) the file and move the contents to the SD card for your camera.
- Re-insert the SD card back into your camera.
The CHDK firmware will be invisible to normal use. To activate the CHDK features, go through the following steps:
- Press the Play button [▶️] to turn on the camera (not the power button).
- Press Menu ▶Firmware Update… ▶OK
From here, you can poke around and play with the new features CHDK enables on your camera. Some of the interesting ones that you might want to play with are:
- Professional control – saving RAW files as well as the JPG, braketing, full manual control over exposure, zebra mode, live histogram, grids…
- Motion detection – triggering the exposure in response to motion in the frame.
- Scripting – control the camera using a simple scripting programming language to do time lapse, motion detection, and other pretty cool things.
CHDK Remote Triggering
The feature I’m interested in is the remote triggering. This is one of the many features that you can enable in the CHDK menu. To enable this, first enable CHDK on the camera:
- Press the Play button [▶️] to turn on the camera (not the power button).
- Press Menu ▶Firmware Update… ▶OK
Now, enable the Remote trigger:
- Press Play ▶Menu ▶CHDK Settings ▶Remote Param. ▶Enable
Preparing the cable
![]() Now, we need to modify a USB cable to use for triggering. Most Canon point-and-shoot cameras have a mini-B USB port for transferring data (pictures) back to the computer. The mini-B USB connector has five connectors, but generally most cables only have four wires. The fourth pin is only used on some devices for special signals. Pins 1 and 5 are typically used for power and ground for charging devices. With CHDK on the Canon camera, these two pins can be used for remote triggering. You can trigger the shutter when you apply a 5V signal between the red wire and black wire. Here is how to prepare your cable:
Now, we need to modify a USB cable to use for triggering. Most Canon point-and-shoot cameras have a mini-B USB port for transferring data (pictures) back to the computer. The mini-B USB connector has five connectors, but generally most cables only have four wires. The fourth pin is only used on some devices for special signals. Pins 1 and 5 are typically used for power and ground for charging devices. With CHDK on the Canon camera, these two pins can be used for remote triggering. You can trigger the shutter when you apply a 5V signal between the red wire and black wire. Here is how to prepare your cable:
- `Take a standard USB mini-B cable.
- Cut the cable in half or to the length that you need for your remote trigger.
- Strip away the insulation to expose the wires inside the cable.
- Cut back all of the cables except for the red and black wires. These should correspond to pins 1 & 5.
- Expose the conductor on the red and black wires to use for your trigger cable.
There are a number of techniques to trigger your camera. The easiest one is connect a battery and a switch. We used a 4xAA battery pack and a simple momentary push button switch. 4xAA batteries provides ~6V. which is in the same range as the 5V required signal to trigger the camera.
Now, how can we trigger this with a sensor? There are several options to do this. You could connect these connections directly to a microcontroller like an Arduino or Micro:bit, but we wanted a setup that didn’t require additional hardware.
Sound Detection
SparkFun has this simple to use integrated sound detector board (SEN-12642). The connections on the board are simple. Once you connect power and ground to the sensor, there are three sensor pins that you can use:
- Audio – raw audio input scaled between 0 and 5V.
- Envelope – the amplitude of the audio signal, only.
- Gate – a binary (on / off) signal indicating when a sound is detected.

To use the sound detector board with the CHDK remote trigger on a Canon camera, connect 5V (or the positive side of the battery pack) to VCC, connect GND (or the negative side of the battery pack) to GND, and finally connect the GATE pin to pin 1 on the custom USB trigger cable.

Here is a quick mock-up of what we put together using a breadboard to connect the wires to the sound detector board. A soft clap is enough to trigger the sound detector and the camera. There is an extra resistor that can be modified on the board to increase the sensitivity, but we were afraid that it might still not be sensitive enough to detect small animals.

Detecting Motion
Another common sensor used in many projects is the PIR (Passive Infrared) motion sensor. You can find this sensor in many places including commercial security monitors and motion activated lights.
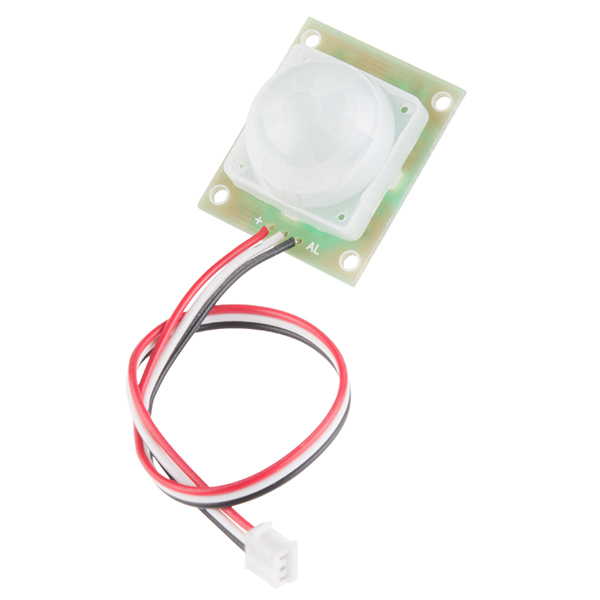 PIR Motion Detector – photo credit: SparkFun Electronics
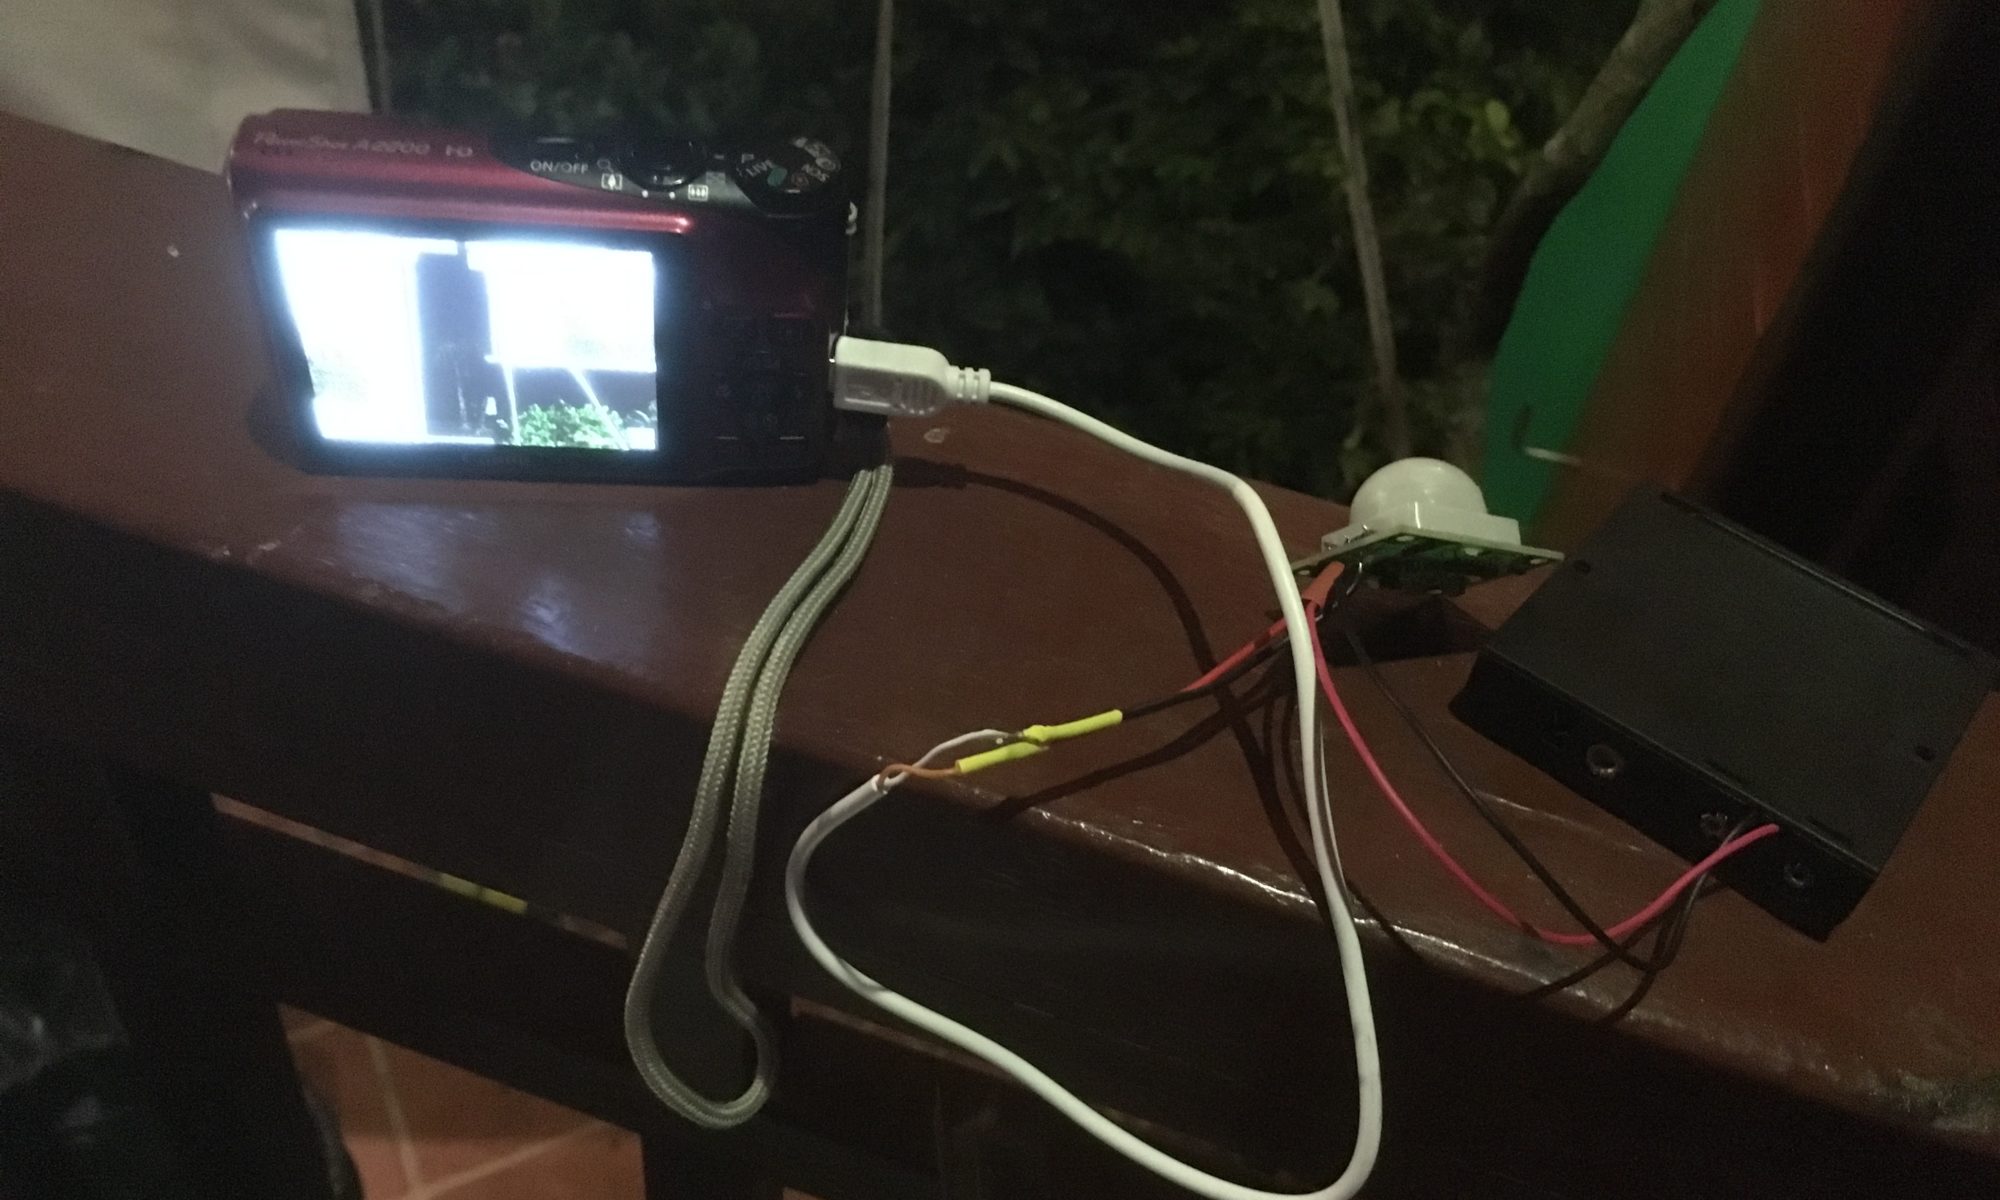
This sensor has only three pins: power, sensor signal, and ground. The sensor signal is an ‘ACTIVE-LOW’ signal which means that when a motion is detected, the signal will go from 5V to 0V. This is the opposite of how the sound detector board worked. To use this sensor, we have to flip the wiring a bit. Here is our wiring sketch:

Again, no need for a microconotroller with this setup. One thing to note here is that the PIR sensor that I have uses a slightly unconventional color scheme. Red – 5V, White – GND, and Black – Signal.
This setup differs slightly from using the sound detector board. Rather than connecting the signal wire to pin 1 (red wire) on the USB cable, here we are connecting the signal wire to pin 5 (black wire). When a motion is detected, the pin goes LOW and the camera is triggered.
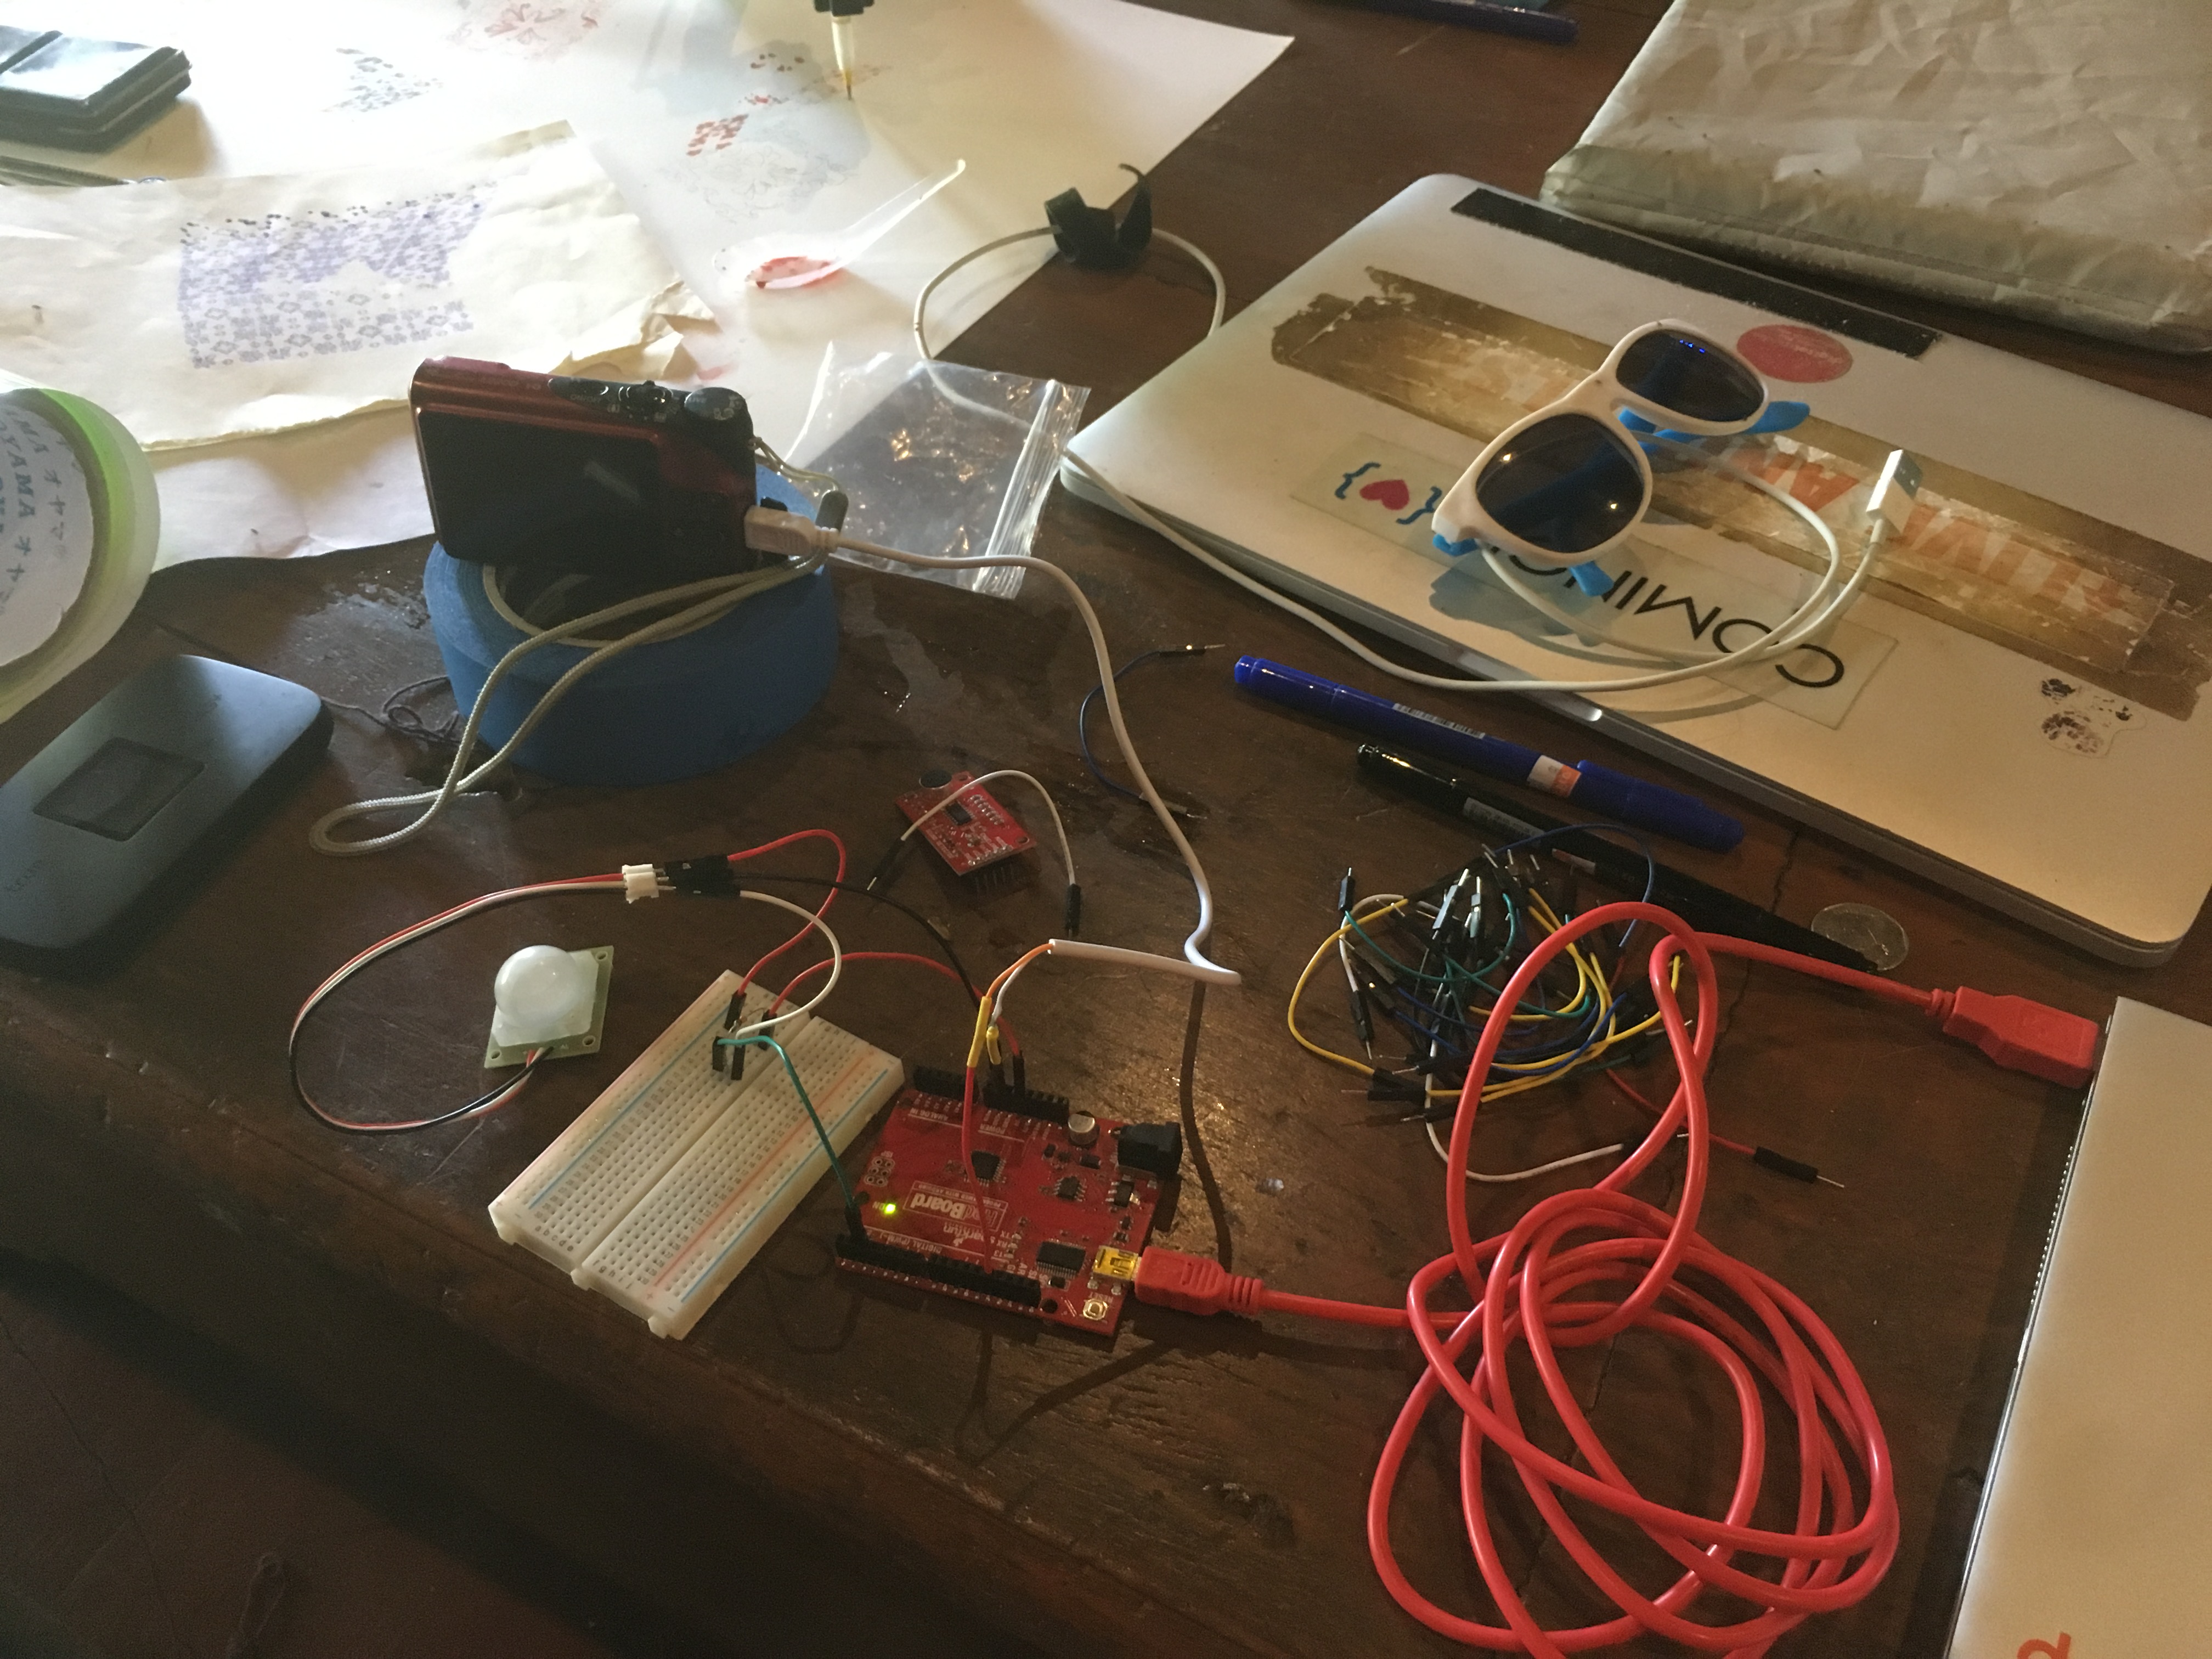
Here, we have wired up a quick prototype of this setup. The Redboard Arduino in this photo is only used for power.
Test Results
The results are a little mixed, but here are a few random pictures that our camera trap picked up. We didn’t pick up any ‘natural’ wildlife in our testing, but we did get a few interesting candid photos:
Going Further
CHDK is an amazing tool to customize and control your point-and-shoot Canon camera. The CHDK community has a lot of great resources and tutorials around scripting and accessing the other features of your cam era.
era.
The one drawback we found was maintaining power to the camera during long periods of time. On the bottom of the battery compartment is usually a small rubber gasket. This is to be used with a direct AC adapters to allow you to connect the camera to external power. These look like a empty plastic battery housing with a cable or connector.
Using something like this could allow you to setup a camera trap to last indefinitely.
We hope this inspires you to dust off your old Canon point-and-shoot camera or pick up an older model at the local thrift store. Happy hacking.